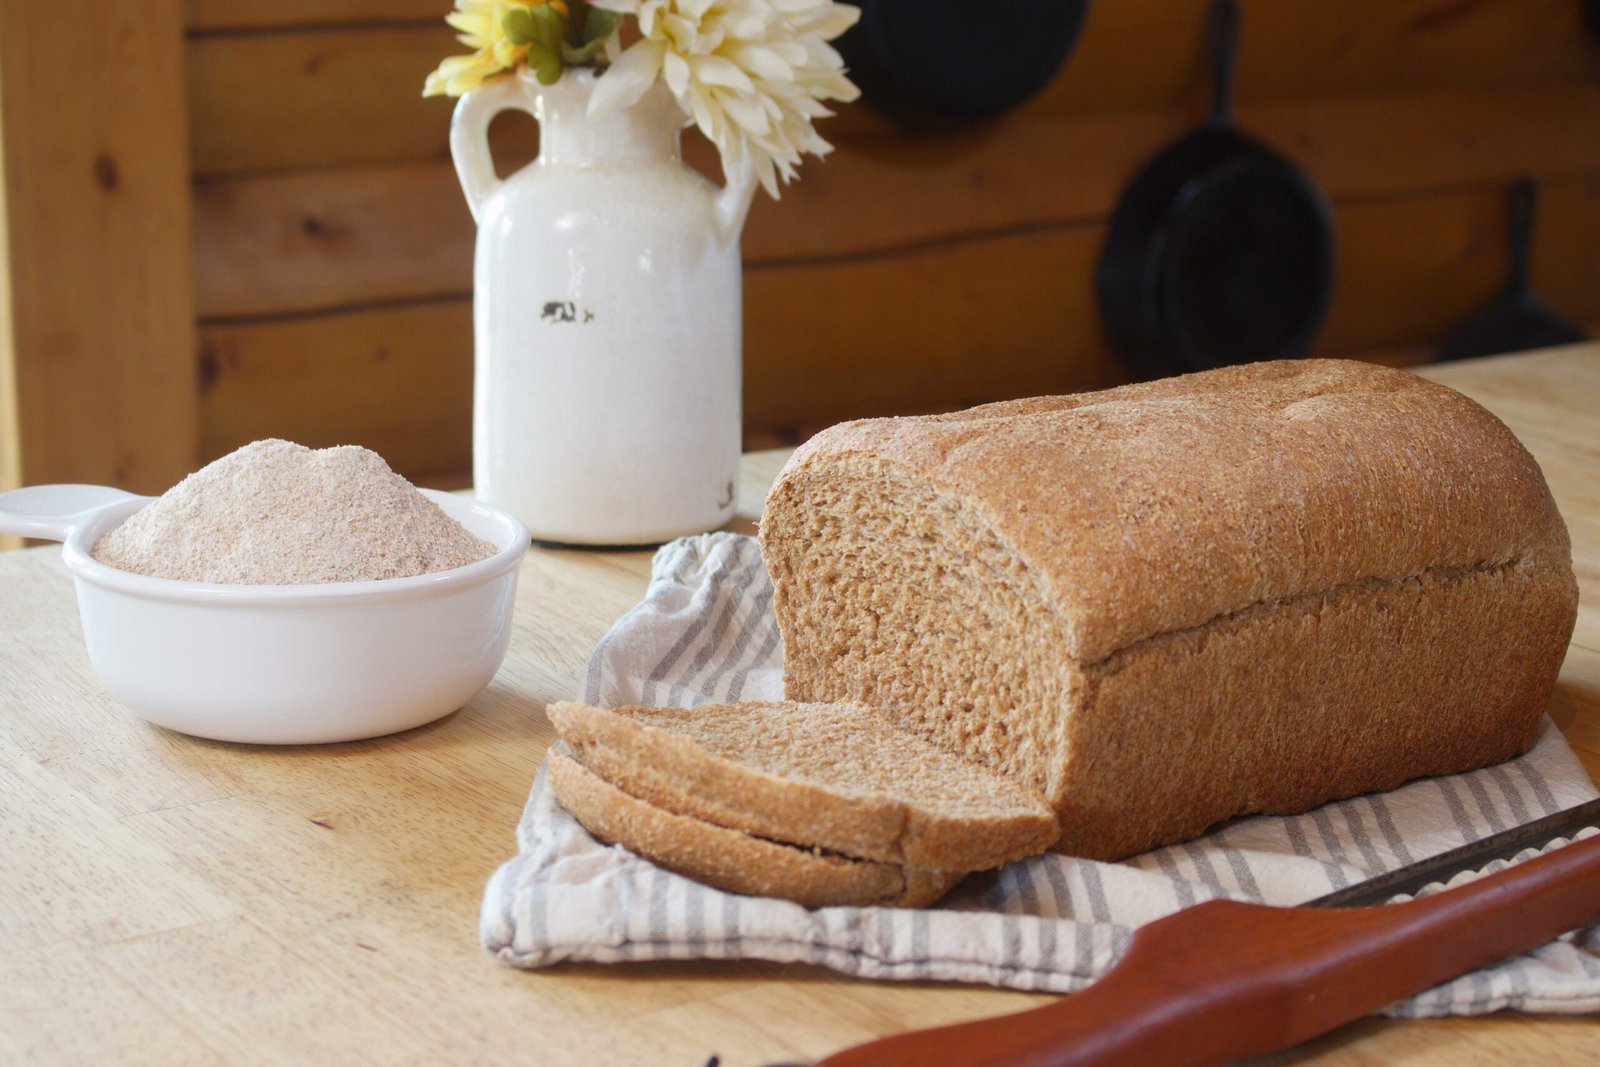
Freshly Milled Wheat Sandwich Bread: A Taste of the Alaskan Homestead
Hello, friends! There’s something deeply satisfying about baking bread from scratch, especially when you’re tucked away in the serene mountains of Alaska. Up here, every slice of homemade bread is a labor of love, a connection to the land, and a reminder of the simple, nourishing joys of homestead life. Today, I’m excited to share one of our family favorites—freshly milled wheat sandwich bread.
This bread is a staple in our household, perfect for everything from hearty sandwiches to morning toast slathered with homemade jam. The key to its rich flavor and wholesome texture is freshly milled wheat, which brings a depth of flavor that store-bought bread simply can’t match. If you’ve never milled your own wheat before, don’t worry! I’ll guide you through every step.
Ingredients:
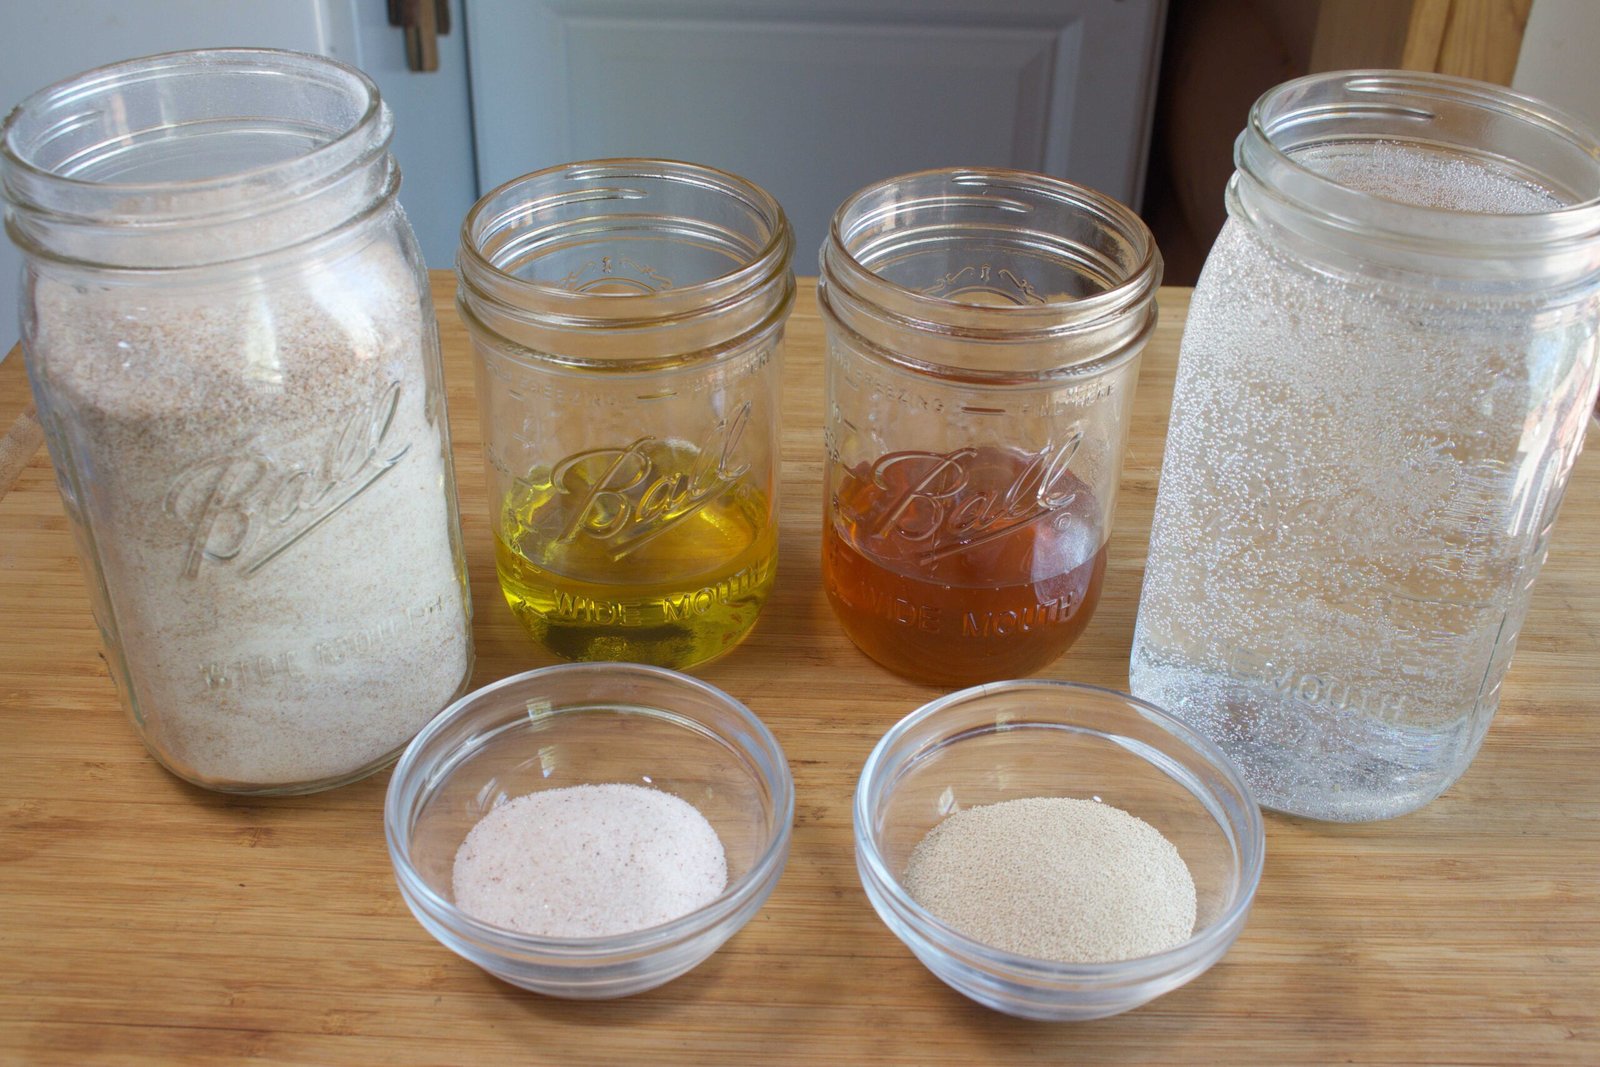
- 9-10 cups freshly milled whole wheat flour
- 2 1/2 tablespoons active dry yeast
- 3 3/4 cups warm water (about 110°F)
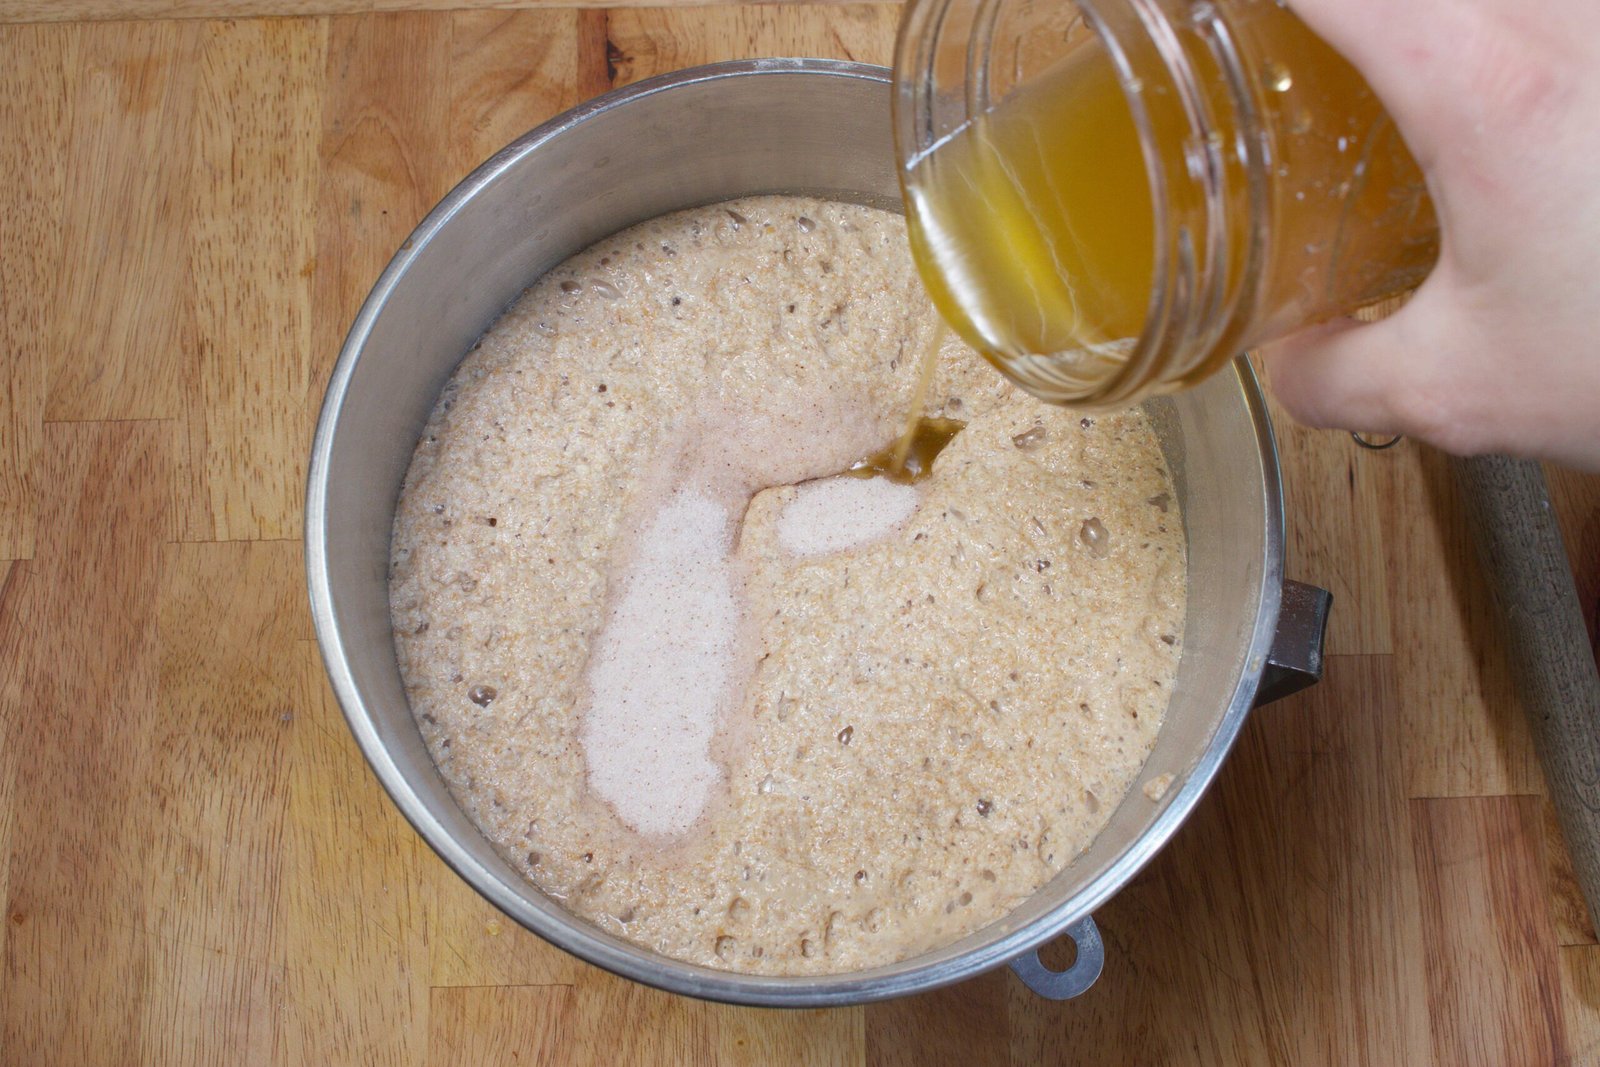
- 1/2 cup honey (or fermented honey garlic)
- 1/2 cup olive oil
- 3 1/2 teaspoons salt
Instructions:
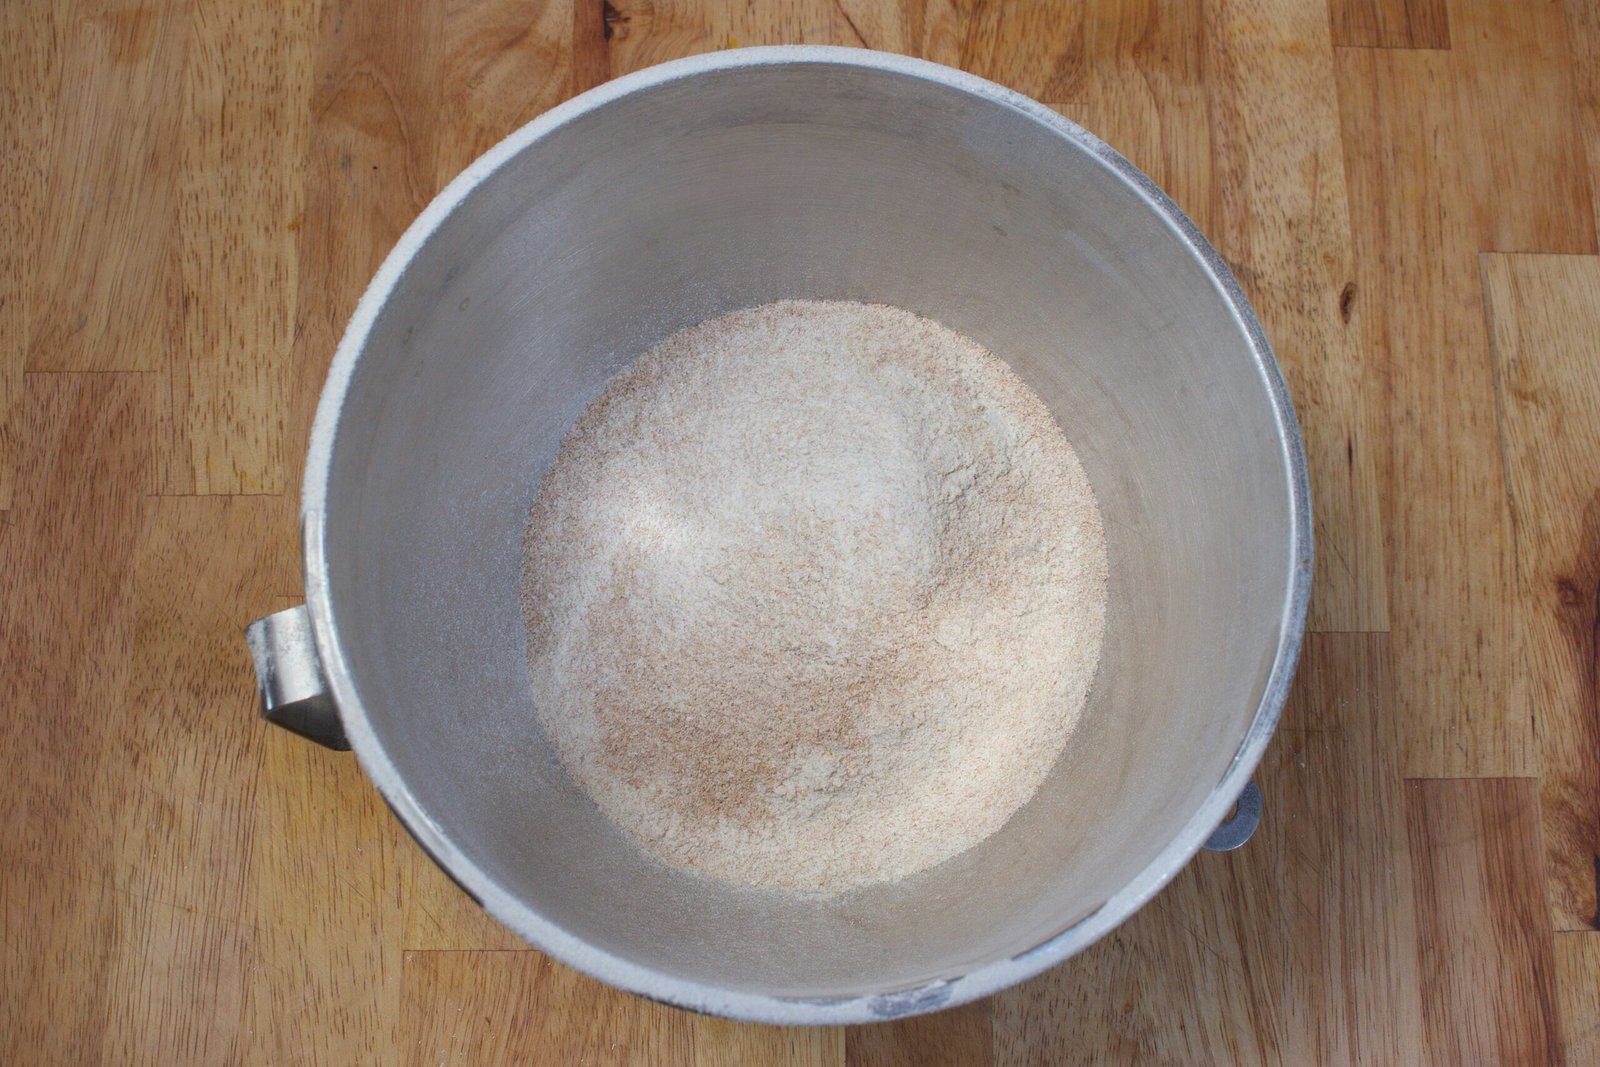
1. Mill Your Wheat: Start by milling your wheat berries to make the fresh flour. There’s nothing quite like the aroma of freshly ground wheat! I use the KitchenAid grain mill attachment for this, but a high-quality blender can work in a pinch. You’ll need about 9-10 cups of flour for this recipe, so grind a bit more than that to account for any loss in the process.
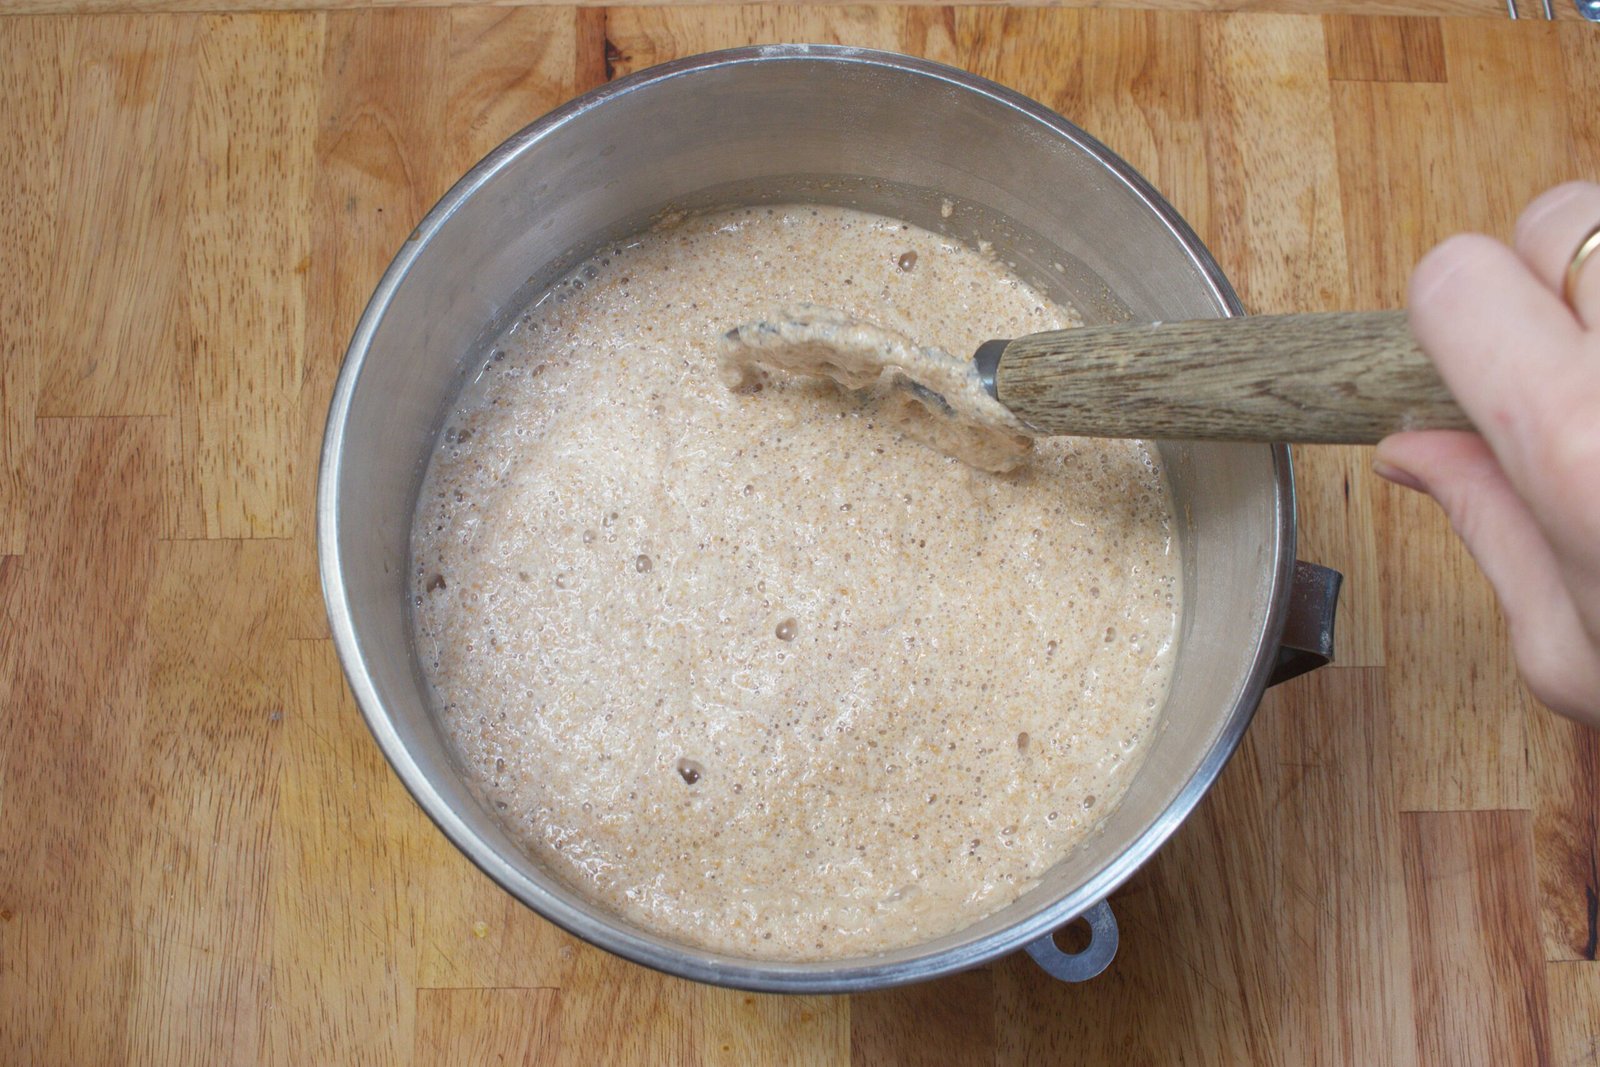
2. Activate the Yeast: In a large mixing bowl, combine 3 cups of flour, yeast and warm water. Stir gently and let it sit for about 10-15 minutes, until the mixture becomes frothy. This is the yeast coming to life, and it’s always a comforting sight in the kitchen.
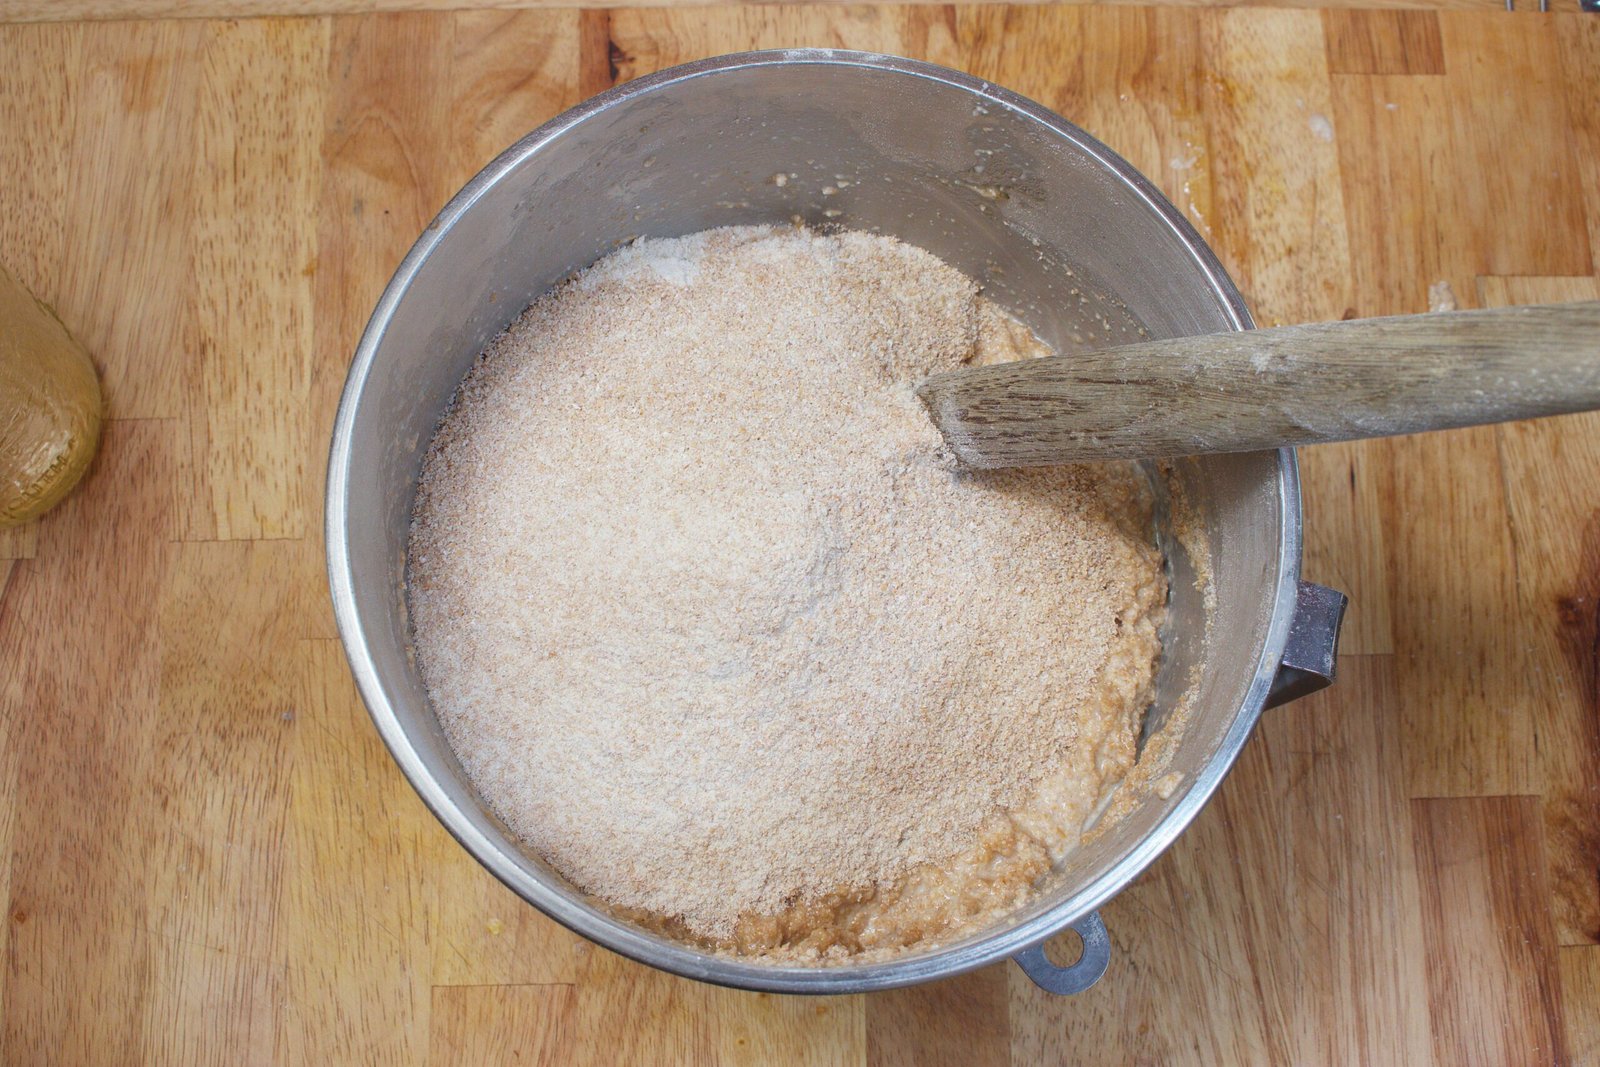
3. Mix the Dough: Once the yeast is ready, add the oil, honey and salt to the bowl. Gradually add 5 cups freshly milled flour, one cup at a time, mixing well after each addition. Turn dough out onto a floured surface and start adding the remaining flour. The dough should be slightly sticky but still manageable. If using a mixer, attach the dough hook and mix the remaining flour until the dough starts to pull away from the sides.

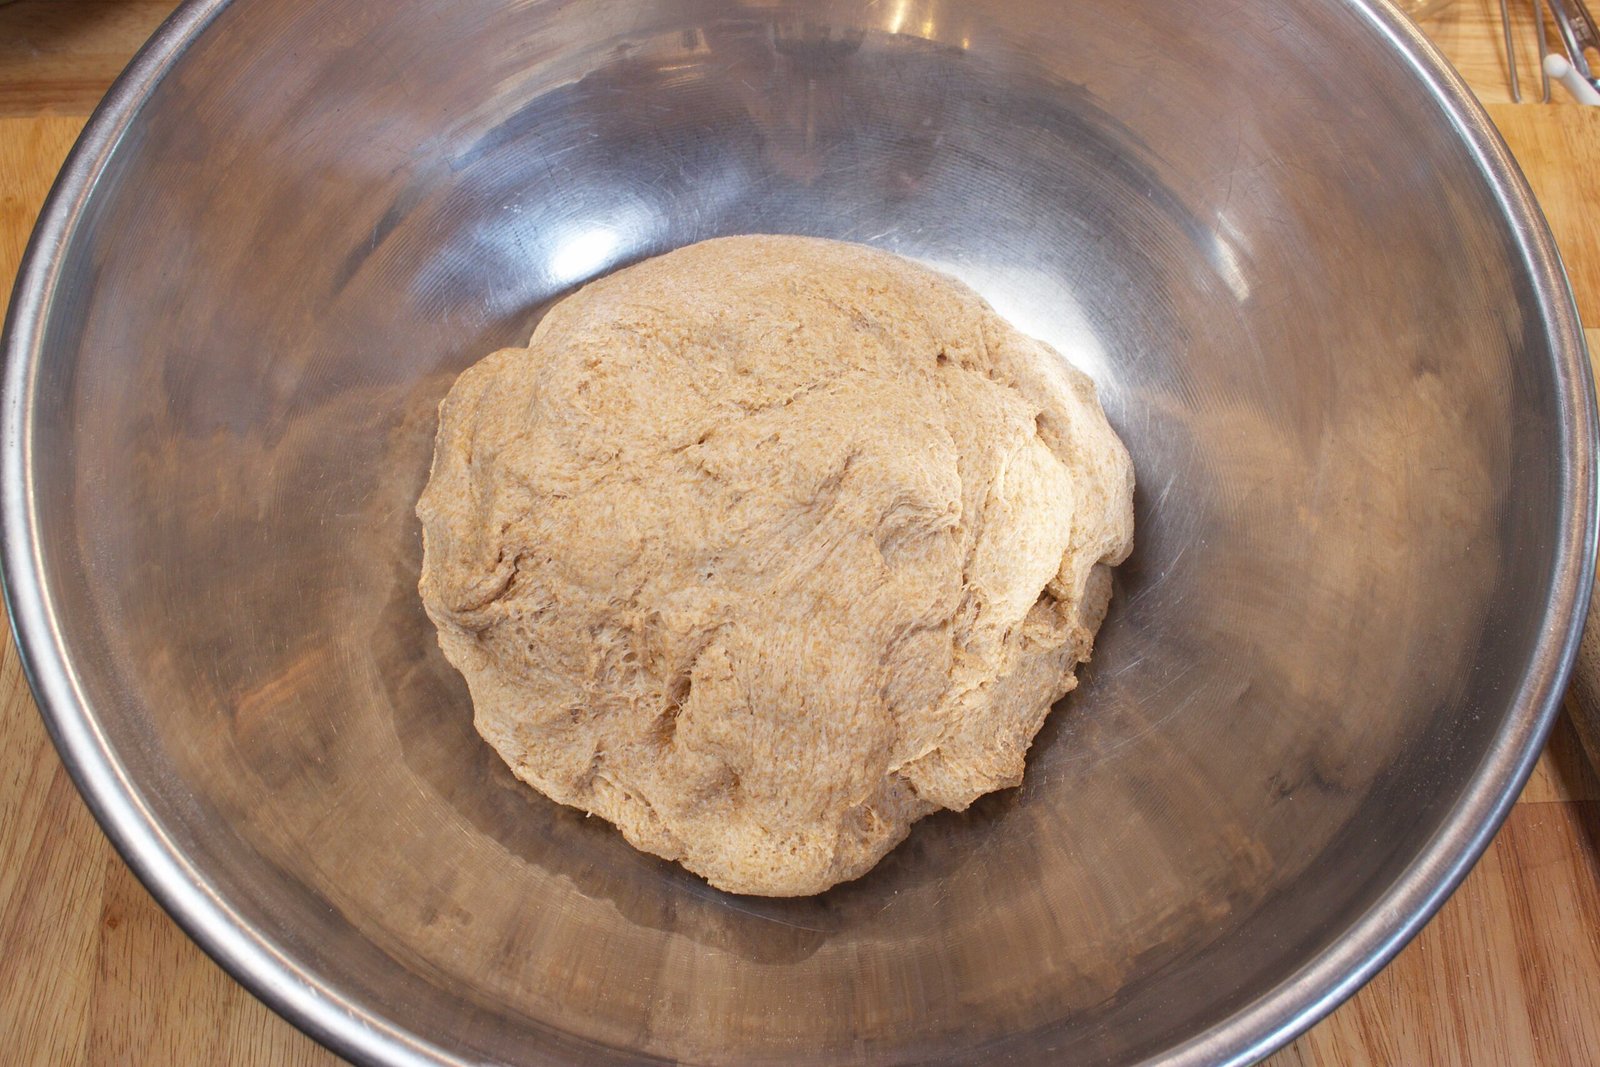
4. Knead the Dough: Knead by hand for 15-20 minutes or with a mixer for about 8-10 minutes. Kneading develops the gluten, giving the bread its structure and chewiness. You’ll know it’s ready when the dough is smooth, elastic, and slightly sticky.

5. First Rise: Place the kneaded dough into a lightly greased bowl, cover it with a damp cloth, and let it rise in a warm place for about an hour, or until it’s doubled in size. Up here in Alaska, finding a warm spot can be a bit tricky in the winter, so I like to place the bowl near the wood stove or in a barely warmed oven.
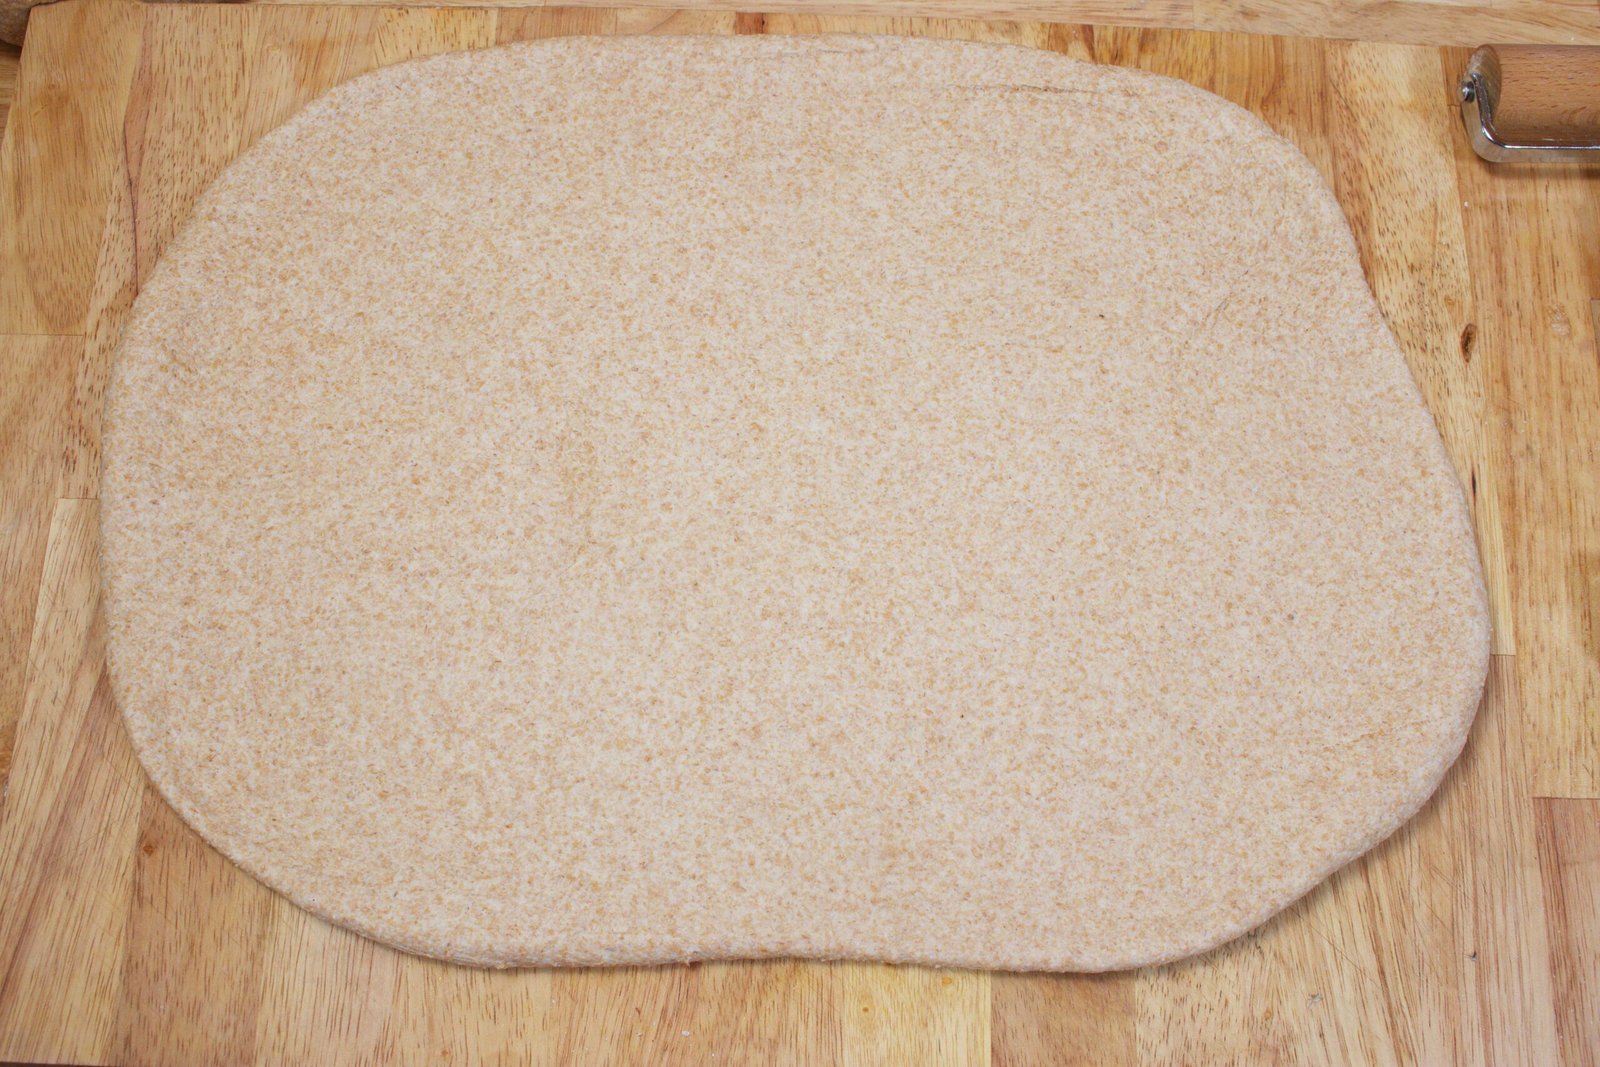
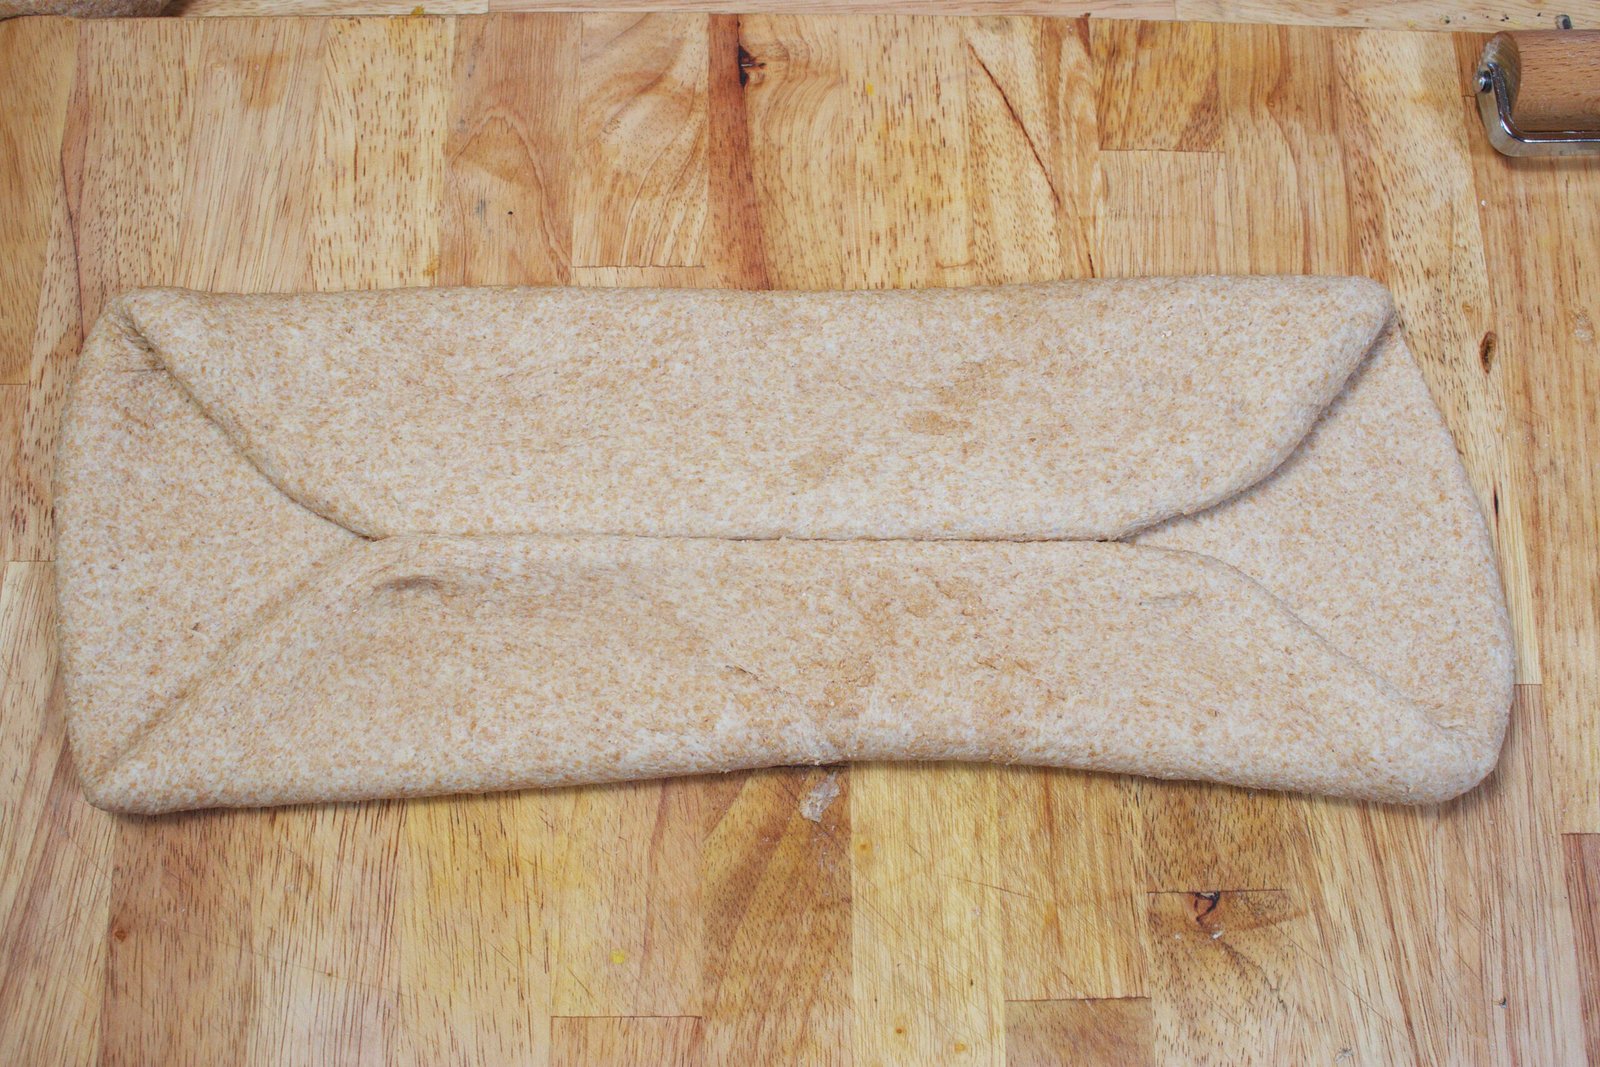
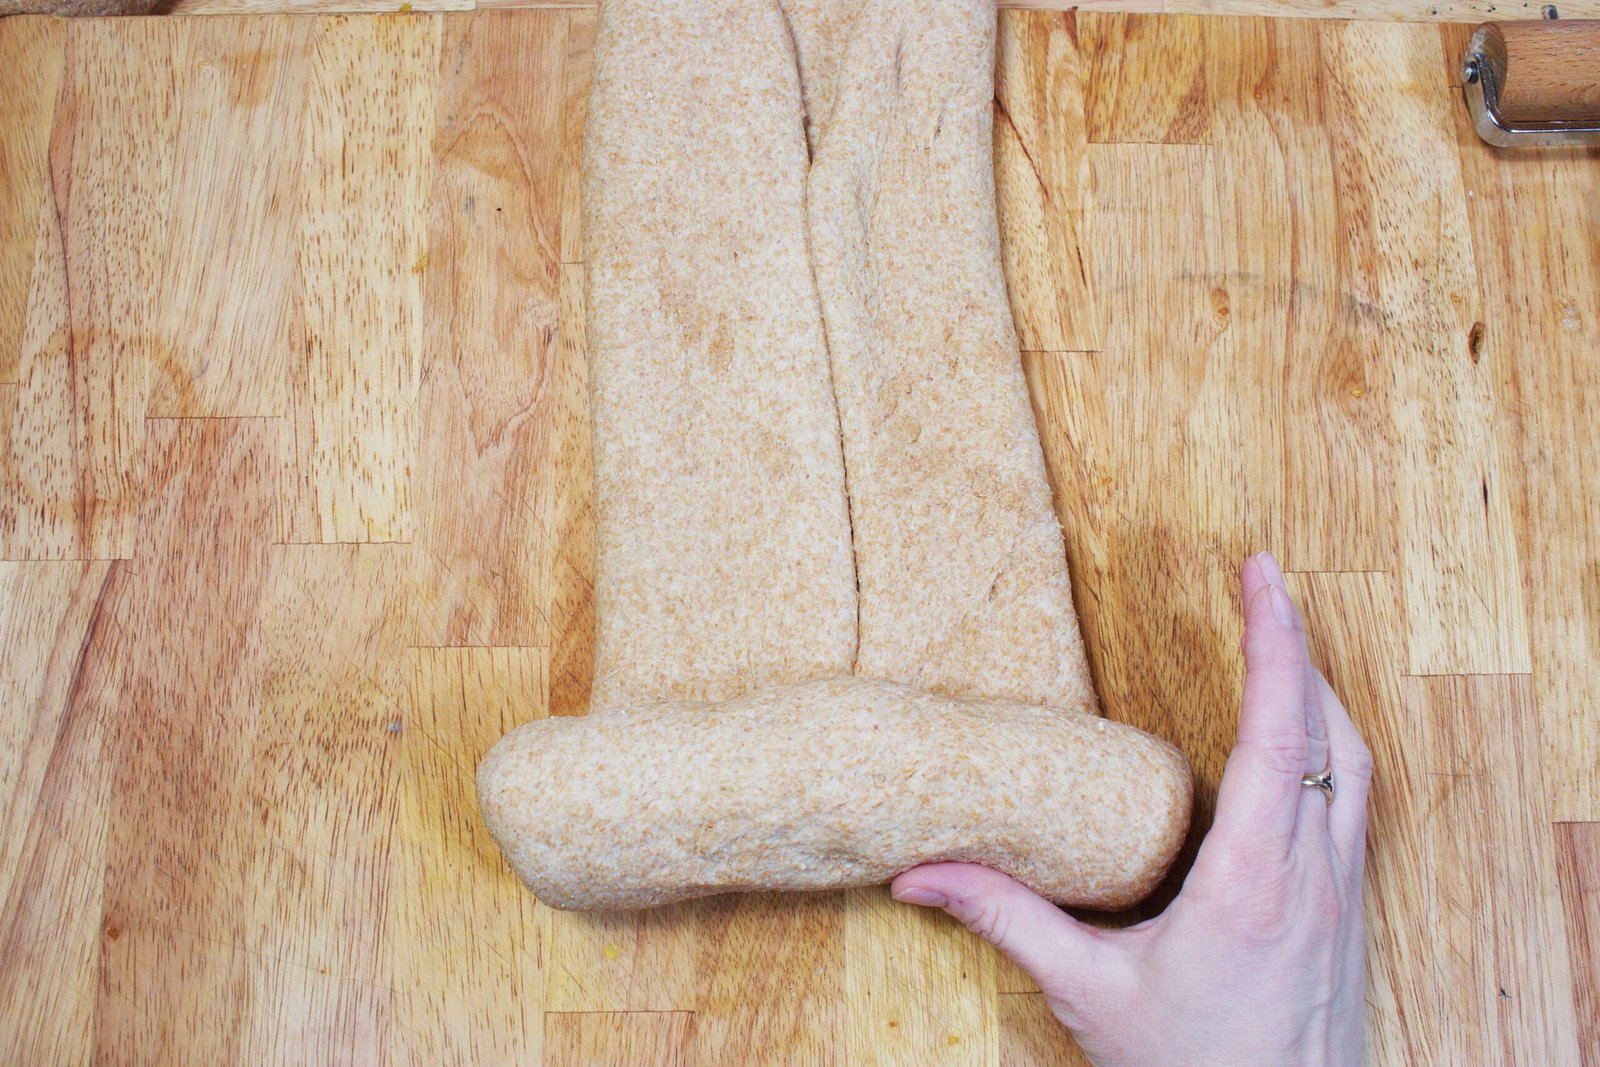
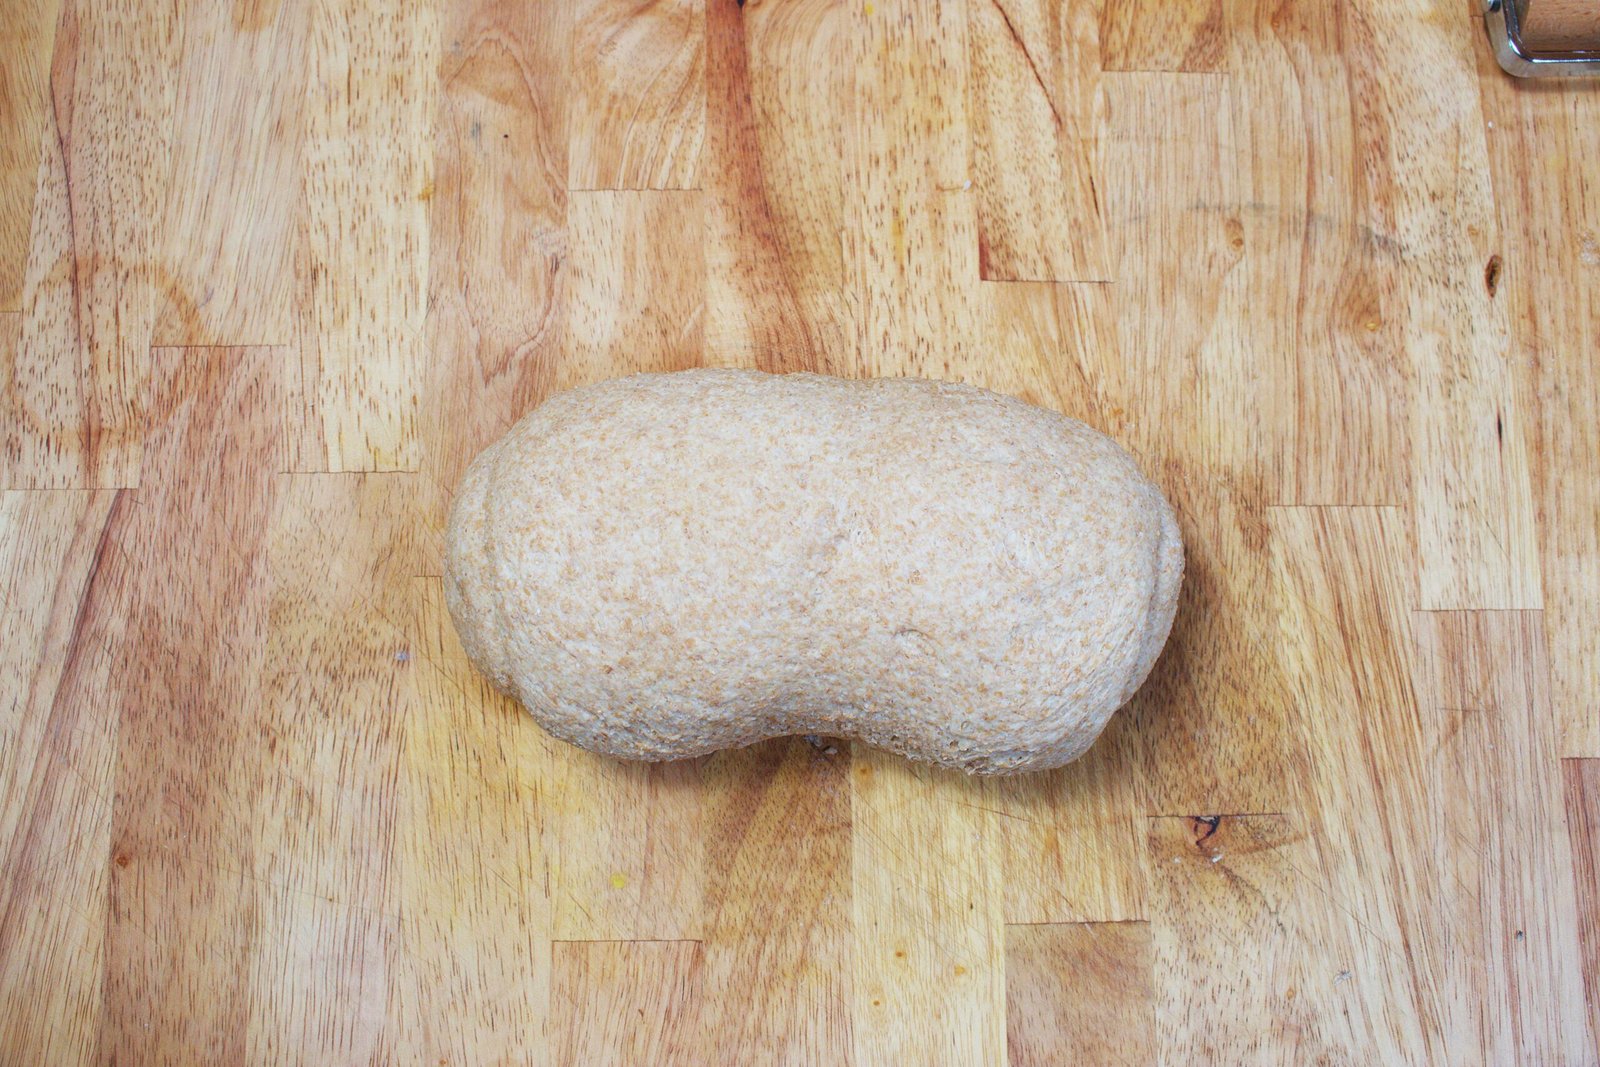
6. Shape the Loaf: After the first rise, punch down the dough to release the air, then turn it out onto a flat surface. Split the dough in half. Shape it into a loaf by gently flattening one of the dough balls into a rectangle, folding it into thirds, and then rolling it up tightly. Pinch the seams closed and place the loaf seam-side down into a greased 9×5-inch loaf pan. Repeat for the second ball.


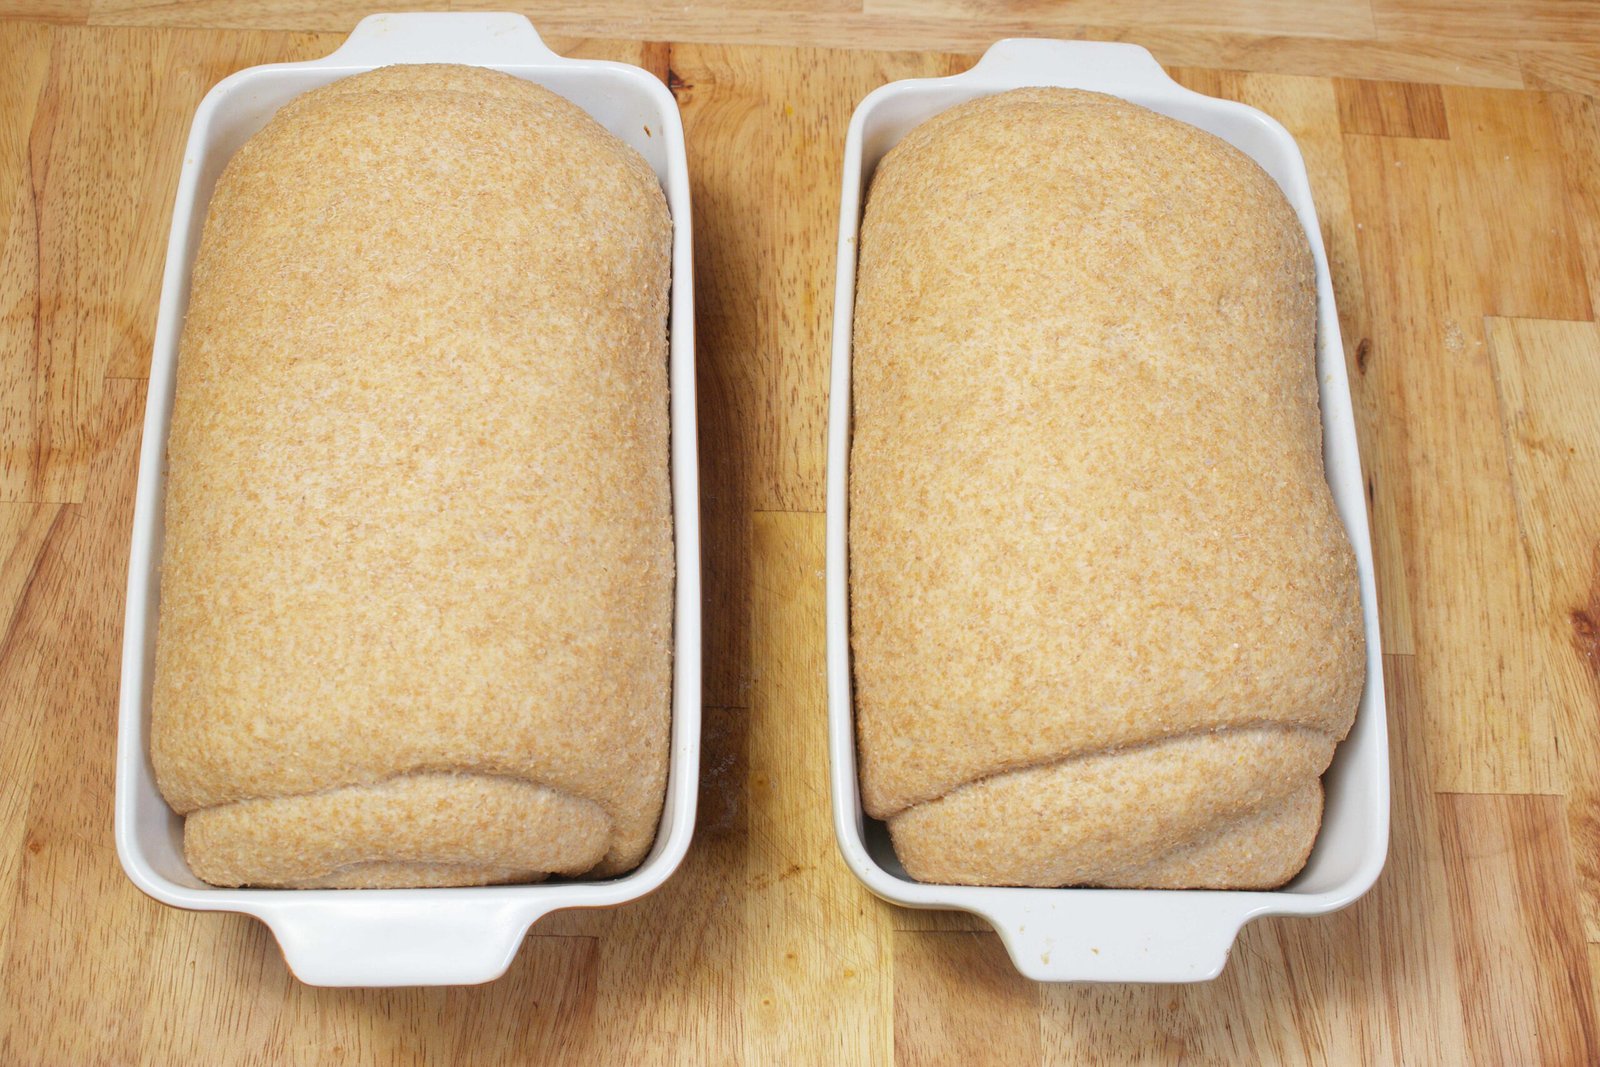
7. Second Rise: Cover the loaves with a cloth and let them rise again for about 30-45 minutes, or until they are just peeking over the edge of the pan. This second rise is crucial for a light and airy bread, so be patient!
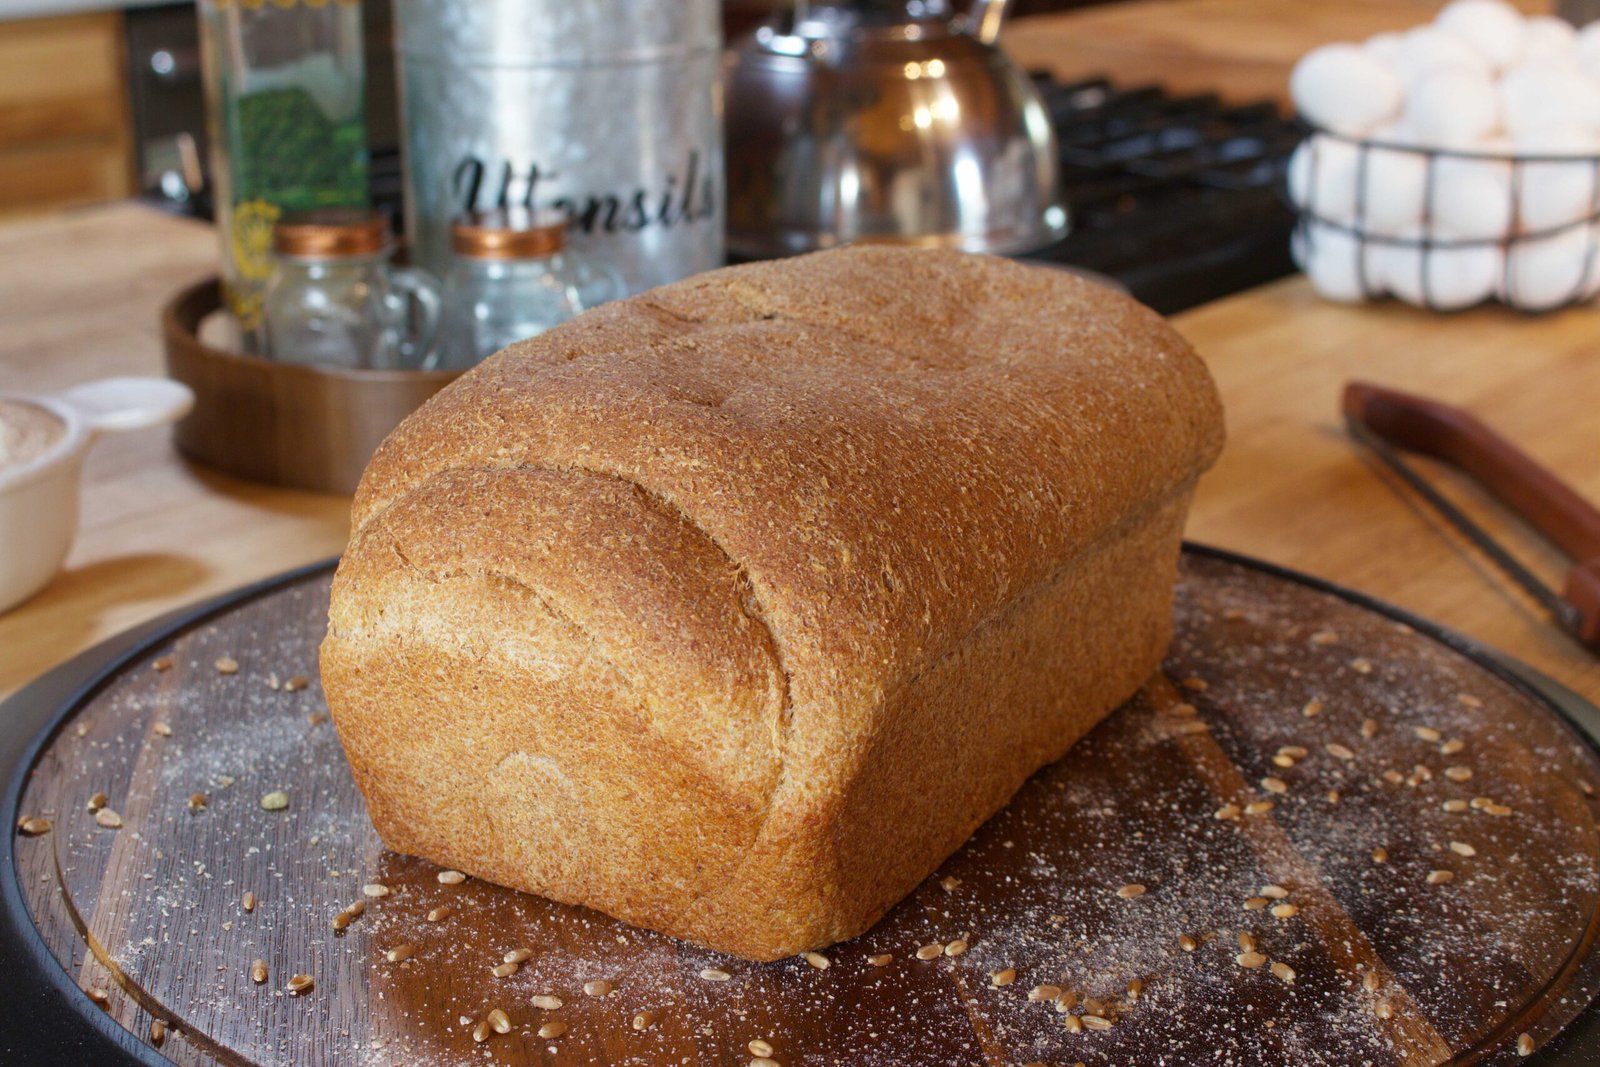
8. Bake the Bread: Once the loaves have risen, bake them in a preheated oven at 350°F for 30-35 minutes, or until the tops are golden brown and the bread sounds hollow when tapped.

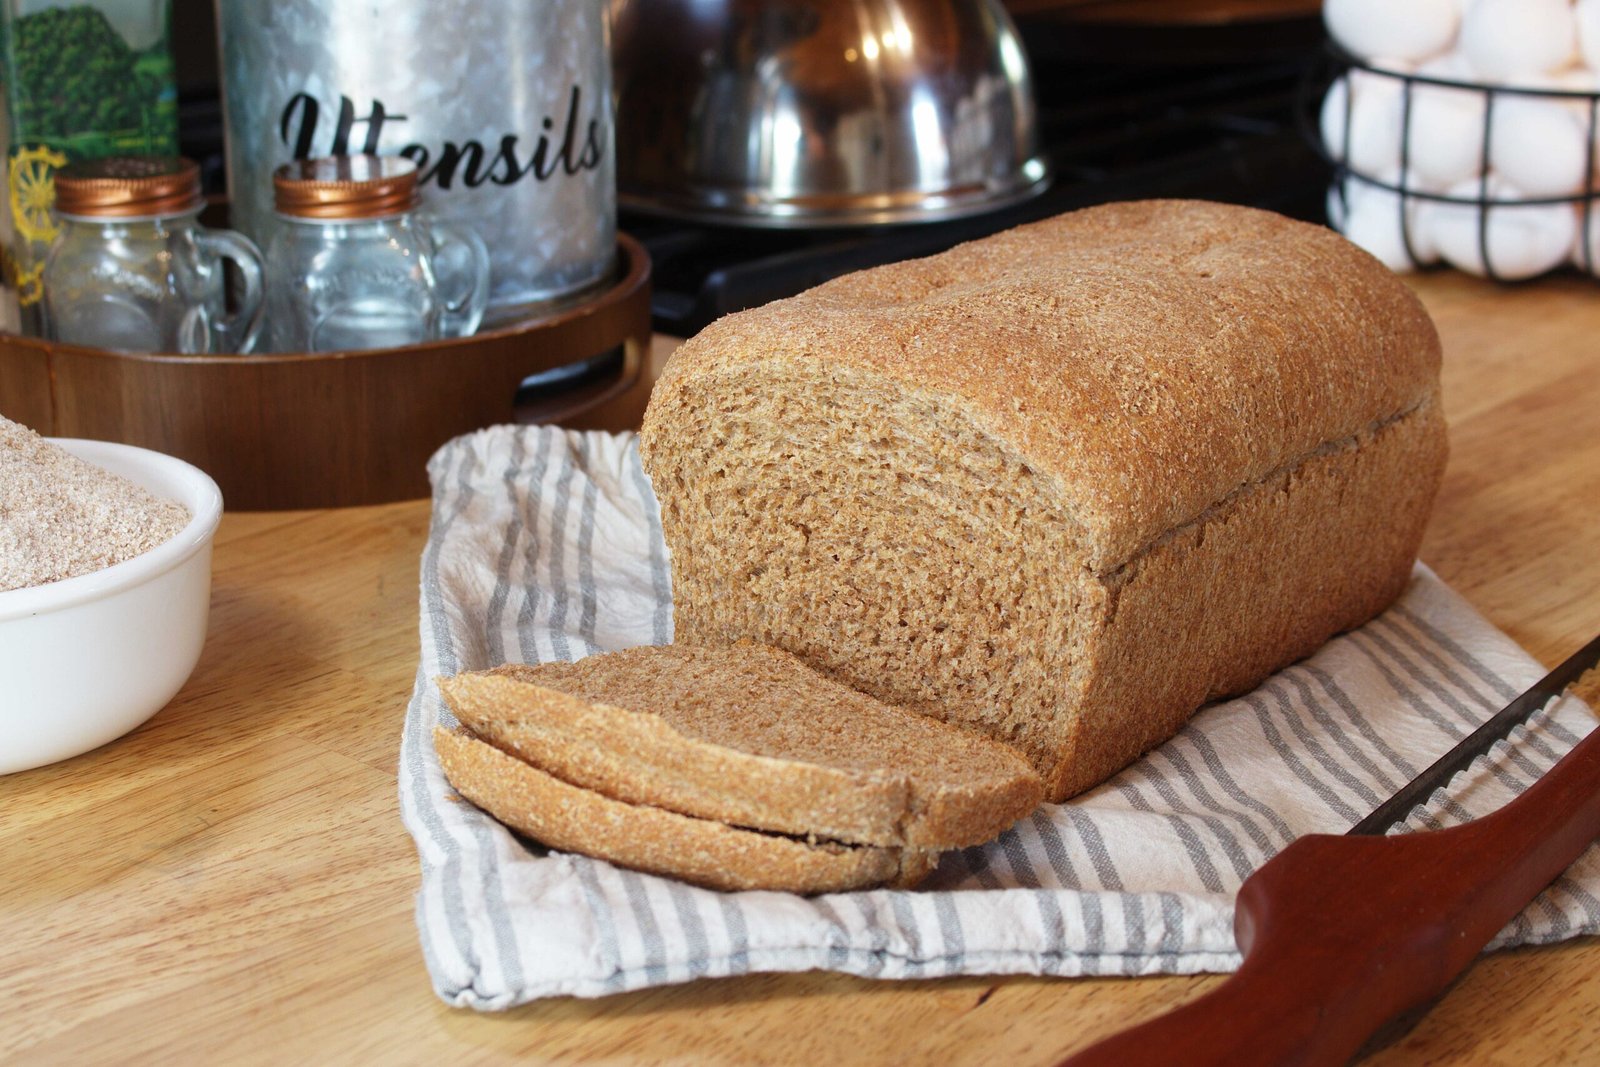
9. Cool and Enjoy: Remove the bread from the oven and let it cool in the pan for about 10 minutes before turning it out onto a wire rack to cool completely. The hardest part is waiting for it to cool before slicing, but trust me, it’s worth the wait! Slice it up and enjoy with butter, or use it to make your favorite sandwiches.
Homestead Tips:
- Storing Freshly Milled Flour: Freshly milled flour is best used right away for maximum nutrition and flavor, but if you need to store it, keep it in a breathable bag made out of cotton or linen.
- Adjusting for Altitude: If you’re baking at a high altitude like we are, you might need to slightly decrease the yeast and increase the liquid to prevent the bread from rising too quickly and collapsing.
- Variations: Feel free to add in some seeds, nuts, or even dried fruit to the dough for a unique twist on this classic loaf. You can also replace the regular honey with fermented honey garlic for an extra boost of flavor!
There’s something incredibly rewarding about baking your own bread, especially with flour you’ve milled yourself. It’s a connection to the land, to our ancestors, and to the rhythms of the homestead. Every loaf tells a story of hard work, care, and love.
So, gather your ingredients, fire up that grain mill, and get ready to fill your home with the wonderful aroma of freshly baked bread. From our Alaskan homestead to yours, happy baking!

Freshly Milled Wheat Sandwich Bread
Course: MainCuisine: AmericanDifficulty: Medium2
Loaves2
hours78
kcal35
minutes1
SliceThis hearty, homemade loaf is perfect for sandwiches or toast, offering rich flavor and a satisfying texture that’s a staple in any homestead kitchen.
Ingredients
9-10 cups freshly milled whole wheat flour
2 1/2 tablespoons active dry yeast
3 3/4 cups warm water (about 110°F)
1/2 cup honey (or fermented honey garlic)
1/2 cup olive oil
3 1/2 teaspoons salt
Directions
- Mill Your Wheat: Start by milling your wheat berries to make the fresh flour. There’s nothing quite like the aroma of freshly ground wheat! I use the KitchenAid grain mill attachment for this, but a high-quality blender can work in a pinch. You’ll need about 9-10 cups of flour for this recipe, so grind a bit more than that to account for any loss in the process.
- Activate the Yeast: In a large mixing bowl, combine 3 cups of flour, yeast and warm water. Stir gently and let it sit for about 10-15 minutes, until the mixture becomes frothy. This is the yeast coming to life, and it’s always a comforting sight in the kitchen.
- Mix the Dough: Once the yeast is ready, add the oil, honey and salt to the bowl. Gradually add 5 cups freshly milled flour, one cup at a time, mixing well after each addition. Turn dough out onto a floured surface and start adding the remaining flour. The dough should be slightly sticky but still manageable. If using a mixer, attach the dough hook and mix the remaining flour until the dough starts to pull away from the sides.
- Knead the Dough: Knead by hand for 15-20 minutes or with a mixer for about 8-10 minutes. Kneading develops the gluten, giving the bread its structure and chewiness. You’ll know it’s ready when the dough is smooth, elastic, and slightly sticky.
- First Rise: Place the kneaded dough into a lightly greased bowl, cover it with a damp cloth, and let it rise in a warm place for about an hour, or until it’s doubled in size. Up here in Alaska, finding a warm spot can be a bit tricky in the winter, so I like to place the bowl near the wood stove or in a barely warmed oven.
- Shape the Loaf: After the first rise, punch down the dough to release the air, then turn it out onto a flat surface. Split the dough in half. Shape it into a loaf by gently flattening one of the dough balls into a rectangle, folding it into thirds, and then rolling it up tightly. Pinch the seams closed and place the loaf seam-side down into a greased 9×5-inch loaf pan. Repeat for the second ball.
- Second Rise: Cover the loaves with a cloth and let them rise again for about 30-45 minutes, or until they are just peeking over the edge of the pan. This second rise is crucial for a light and airy bread, so be patient!
- Bake the Bread: Once the loaves have risen, bake them in a preheated oven at 350°F for 30-35 minutes, or until the tops are golden brown and the bread sounds hollow when tapped.
- Cool and Enjoy: Remove the bread from the oven and let it cool in the pan for about 10 minutes before turning it out onto a wire rack to cool completely. The hardest part is waiting for it to cool before slicing, but trust me, it’s worth the wait! Slice it up and enjoy with butter, or use it to make your favorite sandwiches.
Notes
- Storing Freshly Milled Flour: Freshly milled flour is best used right away for maximum nutrition and flavor, but if you need to store it, keep it in a breathable bag made out of cotton or linen.
- Adjusting for Altitude: If you’re baking at a high altitude like we are, you might need to slightly decrease the yeast and increase the liquid to prevent the bread from rising too quickly and collapsing.
- Variations: Feel free to add in some seeds, nuts, or even dried fruit to the dough for a unique twist on this classic loaf. You can also replace the regular honey with fermented honey garlic for an extra boost of flavor!